| Category | Crafts |
| Time to allocate (mins) | 20 |
| Outcome | wish bracelets |
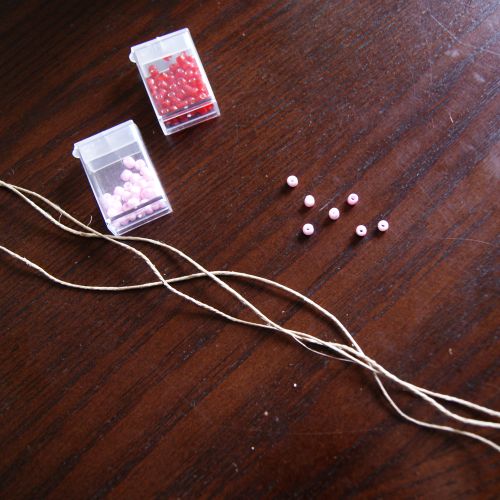
| Resources | Twine Beads |
| Instructions |
Wish Bracelets The idea behind a wish bracelet is that you make a wish, and tie it on. Eventually, the hemp wears out, and you will lose the beads. Which sounds sad, but when this happens, your wish is then “released” and is supposed to come true. You need some hemp twine and large seed beads, making this a really inexpensive project, too. You need beads at least size 6/0. Edit to add: some people have asked for video! So I put this YouTube tutorial together. You can view it in action (it’s under 8 minutes from start to finish), or you can scroll down for the photo step-by-step. First things first. Cut three strands of hemp twine to about 15 inches. You could probably use jute, too – I just had hemp cord from the jewellery section of Hobby Lobby on-hand from last time it was half off. You only need seven beads for each bracelet, but since seed beads can be inconsistent in size and shape, just take a look and make sure the hole is as large as possible. Tie a knot in the end. Make your ends longer than this, aim for about 2 to 2 1/2 inches (I really wasn’t sure if I had cut enough length when I started taking photos). Now, braid your three strands down about three inches. Nothing fancy, just a simple braid.w, because I’m right-handed, I’m going to add beads from the right. When I show you how to do this, feel free to add them from the left instead if that’s more comfortable for you. But you’ll only be adding beads on one side, and I will show you what I mean. That strand I have just pulled from the right to the center, I threaded a bead onto my strand. Snug it up close to the braid, and pull your left strand to the center like normal. Now that you’re pulling from the right again, add another bead on the strand you pull to the center. When you pull from the left, no bead. When you pull from the right, add a bead. Add all seven of your beads. Why seven? Because that’s a “lucky” number, of course! ;) There may be a real reason I don’t know, but mine always had seven as a kid, so I made them up with seven now. You could always play with a different number of beads if you like! Once your beads are all added, braid the rest of your strand normally, adding another 3 inches in length (give or take, depending on your wrist size, of course). Tie the end off and trim the strands up evenly. Now just make a wish before you tie it on! |