Make and Fly a Kite
| Category | Activities | ||||
| Badge | Flying Models | ||||
| Time to allocate (mins) | 30 | ||||
| Outcome | Achieve two of the requirements for the flying models badge - build and fly a kite | ||||
| Resources |
|
||||
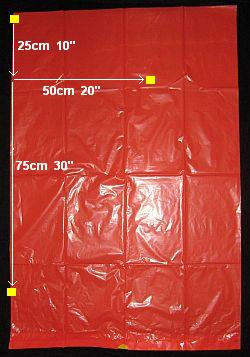
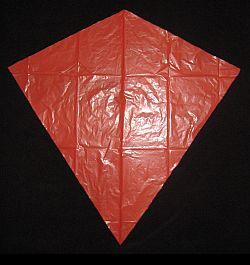
| Instructions | lacing the plastic bag on the floor with closed end at top Mark the plastic as per the yellow dots below and draw lines to join the dots to create a triangular shape 
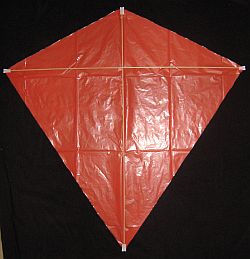
Join the dowel rods by tying a knot in the middle Now add the dowels to the kite and use the cellotape to stick down, insulation tape around the centre of the dowels (over the knot 
Make a hole in the kite where the dowels cross. Thread the flying line through the hole and tie it around the cross point of the rods. From scraps of plastic, make a tail for your kite (about 5cm and no more than 5 times the length of your kite). Tie the tail to the bottom of the kite. |
